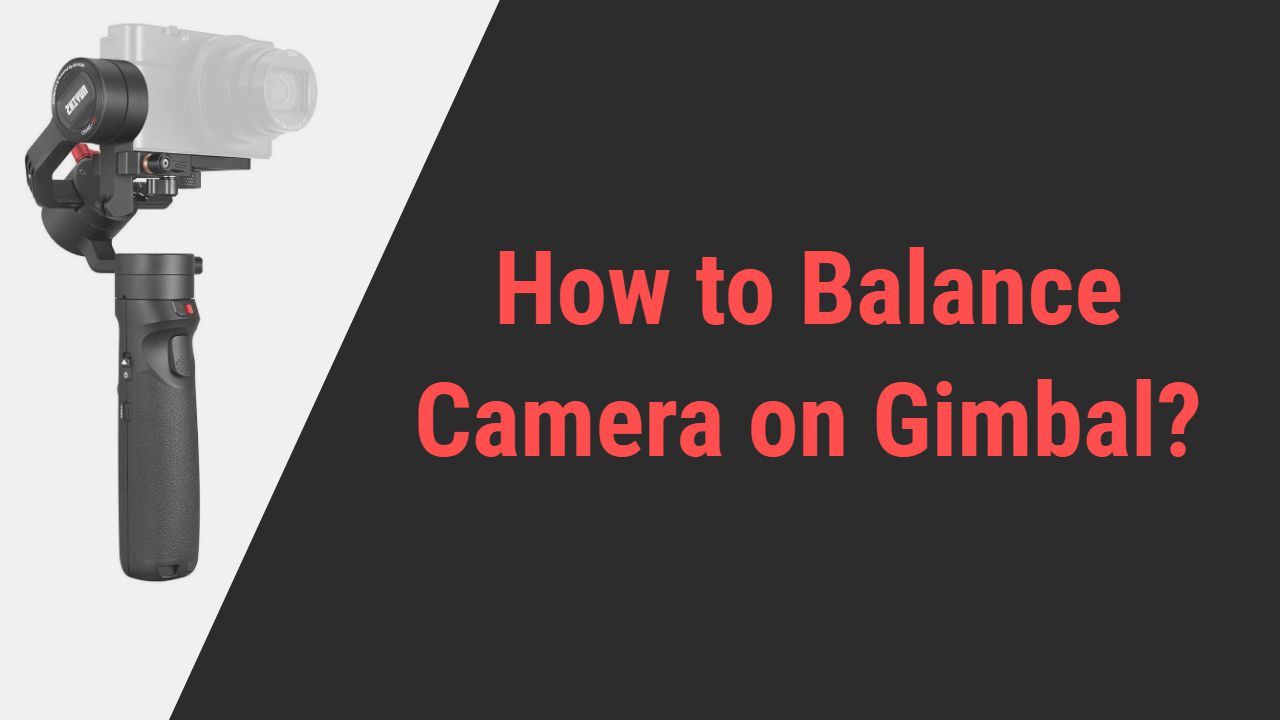
Gimbals are the key to unleashing the immense creativity in your video footage; they are designed to compensate for the unnecessary movement caused during filming and dignify with the most cinematic level shots.
If you are into photography, you might already know the wonderful things gimbals can do when it comes to creativity, but what you don’t know is these gimbals need to have a perfectly aligned and the strongest grip over your camera to get in the action.
When your camera is entirely mounted and balanced over the gimbal following the adequate procedure, there is nothing stopping you from becoming professional; because the gimbal’s creativity is magnified to peak when connected relevantly.
Now, as easiest using a gimbal seems, the trickiest it’s balancing with the camera part is. But don’t you worry a bit about the whole balancing procedure because here is a brief about the same justifying how quicker and easiest the procedure is.
What is the gimbal?
Configured with intelligent sensors and motors, the gimbal is basically an innovative piece of creation empowered to bring amplified balance during the shooting.
The Device is engineered with an ergonomic and sturdier body potent to rotate smoothly along an axis to take the creative angle coverage while filming a scenario without letting the camera move an inch.
This is how they are capable of compensating for the extra unwanted quivering during the filming and keeping the camera stable during shooting. The gimbals use three major mechanisms, you can say their moving algorithm, Tilt, Pan, and Roll, in order to get the desirable shot you want.
Benefits of using the gimbal
Not only does the shooting with stability come under the expertise, but there is also much more the gimbal can do if it has been perfectly mounted and balanced. There are significant benefits of the perfectly balanced gimbal, which might need to be explored.
- They are comfortable with easy ergonomics and design.
- They grant you the freedom to shoot creative variations of modes
- They can effortlessly be moved in any direction without claiming any disruption
- They are an excellent tool for travel, underwater, aerial, or sports footage.
- They are lightest weighted with the longest power potential
- They are affordable and easy to get In the market
- They give you the thrill of balanced shooting through their professional stabilization gear.
Balancing the gimbal correct for efficiency
Now, as you have read, the gimbal is one of the most valuable and necessary elements to purchase if you need that over-the-top look in your footage, but here comes the trickiest part.
The mounting and the balancing of the gimbal throughout the filming can be a sensitive part. See the gimbal’s mechanical features that prevent the jerky aspect from footage that needs the uniform grip and balance to get into action.
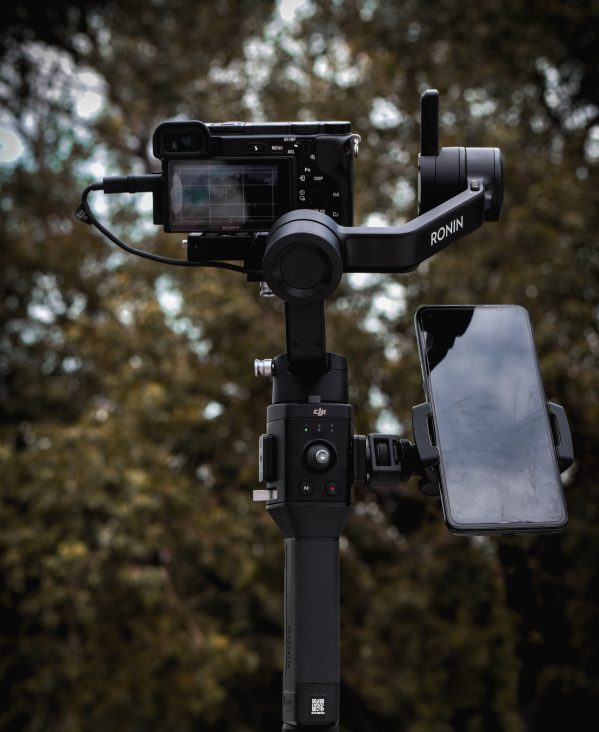
The balance doesn’t actually have to be perfect, but it has to be rightly installed to do the job effectively and pour the perfectly balanced frames; this is all because of the motor.
See, when the gimbal is not correctly mounted, the motor and its functions get more chaotic and eventually end up creating complications in filming, so it’s significantly important to do the all-balancing hook all correctly.
The balancing of the gimbal goes a sequential way which follows up three different phases, picking the equipment, mounting or the connecting, and the last balancing.
Choosing the Right Gimbal
Now the very first thing to do is make sure you picked up the right gimbal for your camera. When you step into the market to purchase the right gimbal, almost every model looks the same to you, but here’s the trick you need to carefully observe each individual before making any decision.
This is because if you opt for the wrong gimbal for your advanced camera, the chances of loose filming, inadequate steadiness, the risk of the camera falling down and getting damaged, and the irrelevant angle movement can be the trouble you can face.
So start with picking up the perfect choice of gimbal for your camera; you can check the gimbal’s payload, weight, smart features, battery, and price before making a big decision.
(Remember, the mounting or the balancing of the gimbal uses the weight as the dominant factor; because the weight distribution treats the connection accordingly.)
Mounting
Once you have the right gimbal and your favorite camera, you are all set to proceed, but with precautions. Yes, the next comes the mounting, the equipment set up phase.
Remember, two-axis and fixed-axis gimbals might be easiest to mount, but the three-axis gimbal has an individual system for mounting its three arms. Even with that, they all have the same procedure of mounting, locking the axis, and managing the foot attachment for the correct placement.
Keep in mind that before doing the all mounting make sure you remove the excess weight from the camera; because when you mount the camera with a heavyweight on a gimbal, it immediately bends to either a forward direction or moves backward.
So better to keep the additional weight away at the time of mounting.
Balancing
Mounting is the beginning of inserting the camera into the gimbal; once the camera is mounted, it all comes to the balancing part. Balancing is the riskiest phase which requires your undivided attention.
See, once you mount the camera, you need to carefully balance and do the locking and unlocking accordingly in order to keep the camera fixed.
The balancing part gives your gimbal freedom to move around and shoot whichever angle it wants, but it is unquestionably the riskiest part ever. So get all the balancing done adequately.
Operation
Once you are all done with the mounting and balancing, the next thing to come up is the operation phase. To get the best result from your gimbal, you learn angling, changing direction tactics, and shooting modes.
Go with bending your legs, lowering your center of gravity, duck walking, and carefully moving around style for the safest and most artistic result.
Step to set the camera on the gimbal.
All three phases of inserting the camera on the gimbal follow a definite set of steps. Go through and imply these efficacious steps to make the perfect balancing.
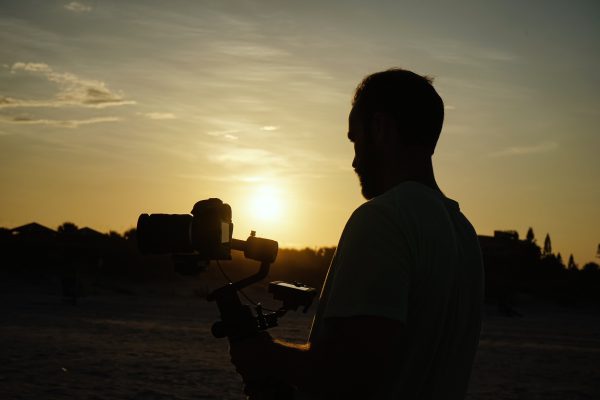
Preparation
The beginning or pre-setting steps of gimbals include
- Locking down all the three motors in a three-axis gimbal
- Preparing the balance of the gimbal on a flat table
- Pre-opting the destined zoom focal length in the lens to avoid unnecessary attraction with the camera when mounted.
- Removing the additional accessories from the camera.
- Make sure you have the fully charged battery of both camera and the gimbal itself, preventing future interruption.
- Take a quick peek at understanding all three Tilt, Pan, and Roll motors of the gimbal.
- Keeping the camera setting, ISO, white balances, and filters in check and positioning the LCD at a right angle.
Implementing
After the successful completion of Preparation, we move towards the main doing; this includes-
- Mount your camera on the mounting plate keeping the center of gravity closest to the center mounting plate.
- Slide the plate inside the gimbal with the camera itself and lock the lever on the side, securing the parameters.
- Observe the lock/unlock trigger on the Tilt arm of the gimbal, slide, and loosen the arm screw starting to unlock.
- Now unfold the gimbal arms so that they are capable of moving freely in any direction.
- Position the camera at a right angle on the gimbal plate, fixing the body.
- Hold the roll axis in position and figure out the center perfect balance for your camera; once you get that, immediately lock the lever.
- Now once you release your hand, you observe the camera either tip forward or lay backward,
- If the camera comes excessively forwards, you need to loosen the tilt and relock after pushing the camera a little backward.
- Now rotate and roll the axis in order to find the perfect balance and adjust the arm so the camera can stay at a fixed position.
- Next, unlock the lever at the tilt axis and repeat the process giving the camera balance from side to side, much like floating in space creating the orbit (This is the second Axis setting).
- Lastly, hold the gimbal pointing forward like a flashlight, unlock and once again repeat the process with the pan axis ensuring the camera doesn’t tip in any direction (This is the third axis set-up)
- Place the gimbal back at the table and turn it on to enjoy professional stabilization.
- If your gimbal allows you to use any mobile application, download the same and connect it with the gimbal through Bluetooth to follow up on hassle-free basic settings.
Final Words
Right angle, relevant motor placing, and the accurate working of batteries work out pretty well If the gimbal is correctly balanced.
Not getting the proper balance and precise mounting of the camera over the gimbal might bring an end to your artistic ability and your will to shoot flawlessly clear and steady shots. But that won’t be a problem anymore, is it?
So, this is it; this is how it’s done; balancing your gimbal with the firmest grip to get the work done properly is not much of a big deal, now is it?
So, get habitual with the pro-cinematic level video footage because you don’t have to stress about how the camera should be set on the gimbal. Not anymore; what now? Go and get the essentials done right away and get in the business of professional filming.

