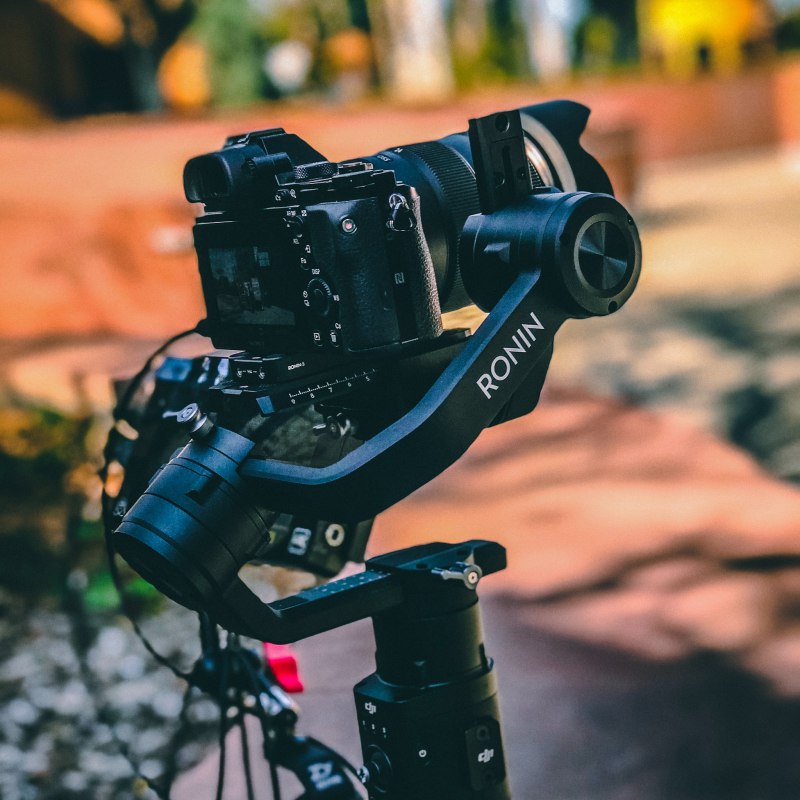
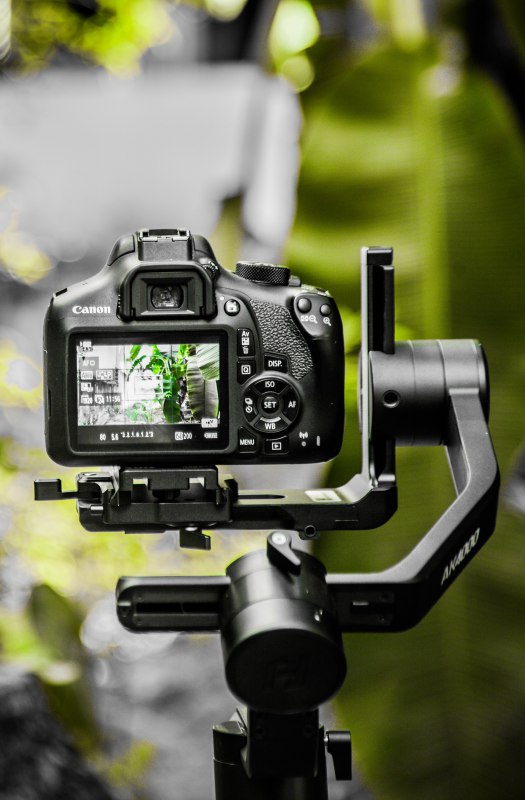
Gimbals are an innovative invention in the world of digital photography; the tool with the promising character to provide immense stability and a dedication to providing more balanced cinematic shots.
Comes with such a high-performance spirit, this gimbal sure does need extra attention when it comes to its maintenance and handling. The proper handling services mean adding extra years to your gimbal life.
Gimbal cleaning is both straightforward and tricky, easy and time-consuming; you just need to know the right way and expertise to do the cleaning stuff.
Even if you are a pro-leveled photographer and an active user of the gimbal, you shouldn’t be overconfident about cleaning your gimbal with regular clothes and chemicals.
Gimbals are high-technology, sensor-equipped tools, which means they require exceptionally smooth and professional cleaning.
So, let’s cut to the short and lead you towards an effective guide for cleaning your gimbal cautiously, smoothly, and attentively for your dearest gimbal’s sake. Scroll down to explore the best way.
Gimbal and its extraordinary ability
In technical words, gimbals are the advanced pivoting support that firmly holds your camera and allows you to rotate it along an axis. To the maximum, the gimbal uses three axes to do the all-major doing, axes that are identified as pitch, yaw, and roll.
These gimbals are exceptionally versatile, intending to expose the greatest stability that can’t be processed in a simple camera shot. These gimbals can be easily anywhere at a physical or online store at an affordable price range.
This actively creative tool is an addition to your shooting skill and is determinedly essential to your gear kit. Some of the basic points for which the gimbal is widely famed and loved are.

- They are ergonomic in nature
- They are reasonably economical
- Nothing beats their stabilization technique
- They unleash numerous shooting modes
- They don’t need professional installment
- They have a straightforward, user-friendly control
- They are durable and handy
- They allow you aerial, tight space, and underwater shooting.
Cleaning accessories you need to buy
Well, as we said, gimbals are highly configured with an advanced sensor and internal program, which means you can’t rush into cleaning the model with simple cloth and chemicals.
You need to focus on the term safest and most convenient way of cleaning to keep things under control. So before we get started in the whole cleaning business, let us throw some light on the professional tool and accessories you will be needing while cleaning the gimbal.
Cleaning Cloth- A regular soft cleaning cloth to wipe the device every time you need it and keep the dust away.
Blower Brush- A blower brush to blow off the dirt and dust from the hard-to-reach area.
Isopropyl alcohol- Highly effective isopropyl alcohol that is mastered in cleaning the hardest of stains, dirt, or even blood.
Anti-static brush- A regular anti-static brush for just removing the gathered while cleaning.
Lubricant- Genuine and any type of effective lubricant for the lubricating of the machine
Regular Oil- Any authentic, harmless, and your choice of oil will be needed to blend with the lubricate.
Microfiber cloth- Needed to clean the sensitive part of the motor and panel; easily compatible with isopropyl alcohol
Carburetor spray- Any automotive pressurized can of spray carburetor or pressurized non-lubricated contact cleaner for the sensitive is spray cleaning.
These might be everything you will need during the gimbal cleaning, but to save you from the hassle of finding a few of them and saving your time, we recommend you buy this all-together cleaning kit from any physical shot.
Brush Kit- Small Portable Anti-Static Brushes Computer Cleaning Brush Kit
Whole Package- REFLYING Camera Cleaning Kit with Camera Lens Cleaner
The Big Cleaning
Now that you have been equipped with certain professional cleaning accessories, the next and dominant phase is to step towards cleaning.
Now as much as we like to say the process is extremely easy and only needs one-time attention, but we also can’t ignore the part where the cleaning is the trickiest and not an adequate way of doing it might complicate the situation.
Note- To perform the whole pro-leveled cleaning, you might confront the fact that you are most likely dissembling your entire gimbal; this way, you can spot the out-of-reach areas and do the cleaning effectively.
Pre-cleaning
Before going into the deep, there are some easiest and most straightforward basic cleaning steps which remove the dirt from the gimbal’s outer body structure; the procedure is called pre-cleaning, which includes

- Simply hold the blower brush and remove the dirt and dust from the hard-to-reach area of the gimbal body.
- Use a soft and smooth cloth and alcohol, and gently wipe down the axis, handle, and body of the gimbal.
- If your gimbal does come with a Display panel, simply drop some contact cleaner liquid on a cloth and softly wipe down the panel.
- Cover the control dial areas on the gimbal and use the brush and soft cloth piece to brush out the dirt struck in the area,
Steps for the ultimate cleaning
Once you are done with the outer cleaning, there’s come the trickiest and most sensitive part of cleaning. Pay extra attention while doing this big phase. The phase that includes-
- Smoothly rotate and place the gimbal wrench pins onto the matching hole of the gimbal cover, then slowly remove the gimbal dust cover.
- While removing the cap, make sure to hold the gimbal upright to avoid the gimbal sleeve from falling.
- Similarly, remove the side dust cover on the gimbal fork, which might reveal in two after removal.
- Then slowly remove the fork and the bearing cap, and smoothly detach the bearing from the gimbal body.
- Now you can use any pressurized non-lubricated contact cleaner spray or any automotive pressurized can of spray carburetor to clean the dust out.
- Once you pick your sprayer, gently spray it onto the bearing and spin it four to three-time, which can do the removal of stored dirt.
- Next comes the lubricating now remember lubricating the gimbal ball bearing is only required for the traditional model; one with the sealed ball bearing system technique does not require any lubrication as they have been indulged with the ability to auto prevent the dirt from getting inside them
- If you are to lubricate the motor, use any genuine lubricant with the oil and drip a few drops on all of the bearings, then gently spin the bearing to let the oil go into the cage.
- Once done, smoothly wipe and clean out the bearing journal placed on the gimbal sleeve.
- Now you can cautiously assemble all its parts similarly to dismantling only in reverse order.
Precaution to take while cleaning
During the whole gimbal cleaning mechanism, you will need some ground-level precautions to avoid any accidental damage. This precaution might include
- Wear eye protection while using the pressurized sprayer cleaner on the gimbal.
- Highly recommended to wear gloves to avoid any bare-hand interaction with the gimbal.
- During the dismantling, do not force open any part of the gimbal, nor do tap and pry on the sensitive part of the machinery.
- Under any circumstances, do not include water in the whole cleaning challenge; it may cause damage to the electronic parts.
- During the cleaning, please do not put the gimbal flatly on the ground or disturb its balance while dismantling or installing.
Why do you need professional cleaning?
Now that you know every inch of how to clean your professional gimbal, there might be some serious confusion that has been already dodged inside your mind: why all these relevant ways of cleaning are necessary. Here is why.
When your advanced gimbal doesn’t get the basic ground maintenance it requires, or if you did all the doing by yourself as in regular equipment, there might be some serious effect caused, impact like
- without the proper maintenance, there might be the possibility of cutting years in your gimbal life longevity
- there is the highest chance of several parts damage and destruction while doing regular cleaning
- While doing the regular cleansing, you might unintentionally leave scratches and strain on the outer body
- the basic and non-compatible cleaning accessories might damage your equipment’s performance.
- The cleaning liquid can easily drip into your enhanced algorithm and sensor part and cause disruption of service.
- The gimbal can face serious uneven balancing, and sometimes the control interface can get damaged.
- Using an un-relevant cleaning service, there is the highest possibility of crashing the entire system.
Final Words
So now you know the secret of cleaning your gimbal in the best way possible; no more sensor damage, no more scratches and stains, just creative steadiness and possible professionalism.
The advanced accessories and cleaning kit make sure that your gimbal has extra-long-longevity life while the whole mechanism keeps the dirt and debris from getting deeper inside the gimbal; problem solved
There is no doubt gimbal is the most intuitive and productive tool at first whenever the word stabilization is uttered; they are considerably durable, but their body can get damaged, or their performance gets affected if additional dirt and debris get in the way.
Well, not anymore now that you know the safe-cleaning tip of the gimbal, it’s time to pour your effort and give your hard-working gimbal the extra care it deserves. Also, don’t forget to leave feedback about how these guides help you and your gimbal stay clean and active.


